How to efile a legal document into an Illinois lawsuit
Most legal documents you prepare in your lawsuit will need to be efiled with the clerk of the circuit court, with some important exceptions. Illinois now has efiling available throughout the State, so you do not need to make an extra trip to the courthouse to file your case documents.
While there are many efiling platforms, the most commonly used platform is Odyssey EFileIL. To get started, you will need to register for an account.
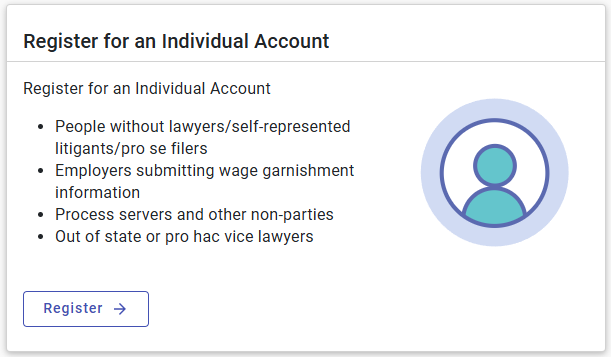
The registration process is relatively simple.
Make sure to register with an email address that you regularly check, as all future notices about court filings will be delivered to this email address.
Once you are registered, and signed in, you will be brought to a main dashboard page where you can initiate your filing. Click on the “Start Filing” option.
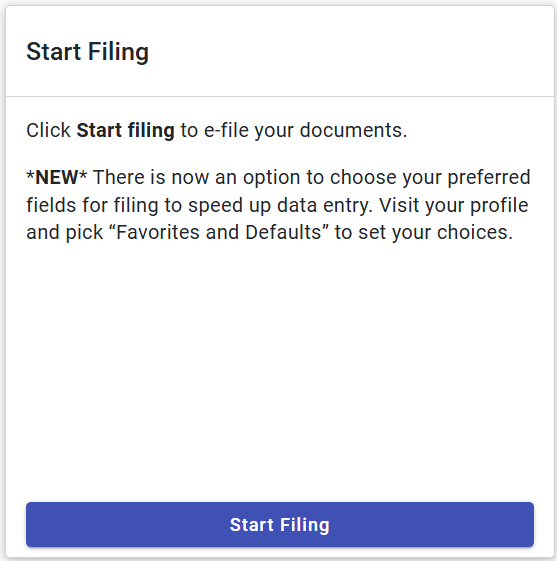
Whether you are initiating a new case, or filing into an existing case, you will want to select the “Start Filing” option.
If you’ve begun the filing process, but haven’t yet submitting your filing, you can pick up where you left off in the “Drafts” section of your Dashboard.
Next, you will be brought to page where you can select “Start New Case” or “File Into Existing Case”. If you are initiating the lawsuit and filing a brand new case, select the “Start New Case” option. For all other filings, select the “File Into Existing Case” option. The remainder of this tutorial will focus on the “File Into Existing Case” option.
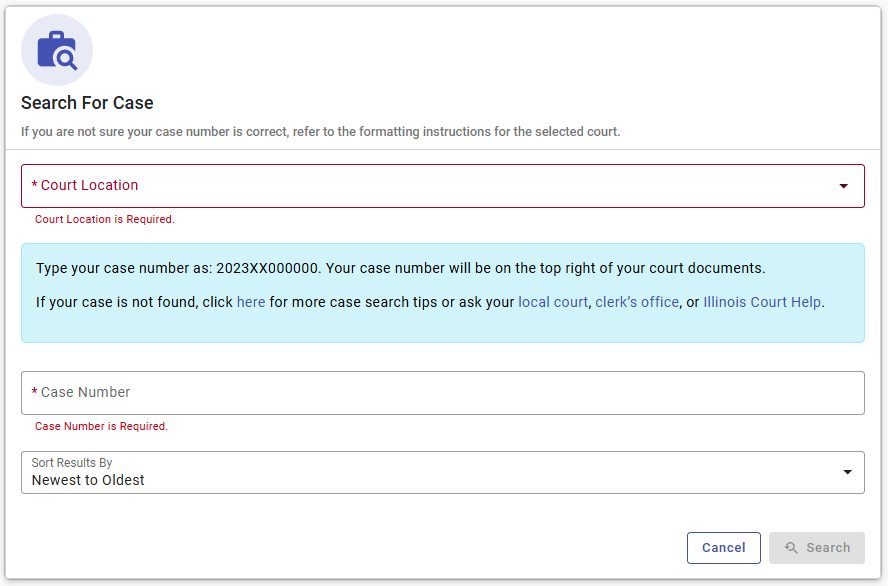
Once you select the “File Into Existing Case” option, you will be brought to a page where you’ll need to locate you existing case. First select the courthouse where your case is located. For some counties, this is simple as there is only one “division” and one “district” within the county. However, for Cook County, a massive court system, there are multiple “divisions” and “districts”. To determine which “division” and “district” you are in, you can usually find this information on the very top of case caption from the other legal documents in your case. If it says “IN THE CIRCUIT COURT OF COOK COUNTY, ILLINOIS, COUNTY DEPARTMENT - DOMESTIC RELATIONS DIVISION”, you’ll know you’re in the Cook County Domestic Relations Division. To know which district you’re in, you’ll want to check the city where your courthouse is located (i.e., Chicago - District 1; Skokie - District 2; Rolling Meadows - District 3; Maywood - District 4; Bridgeview - District 5; Markham - District 6).
Once you select the court location, you’ll need to input your case number. Your case number will also be in the caption of the other court documents in your case. This is not a “smart” search, so if you miss a single digit or letter, you will not find your case. This can be a frustrating process, and if you are having difficulty finding your case, please contact us using the “Contact” tab above. Every county has a different system, and within Cook County there are random differences that can cause confusion (i.e., for Divorce cases, you are going to include the “D” in the case number, but for Municipal cases, you are not going to include the “M”).
If you’ve managed to find your case within the antiquated search process, congratulations. Click on the “Actions” tab, and select, “File into Case”. You will then be asked for a “Case Cross Reference ID”. For every self-represented litigant, you are going to us the ID: 99500. The next page, the “Parties” page, should already be completed, so you can continue on by selecting the “Filings” option at the bottom right corner of your screen. Alas, you’ve made it to the “Filings” page. Select “Add Filing”.
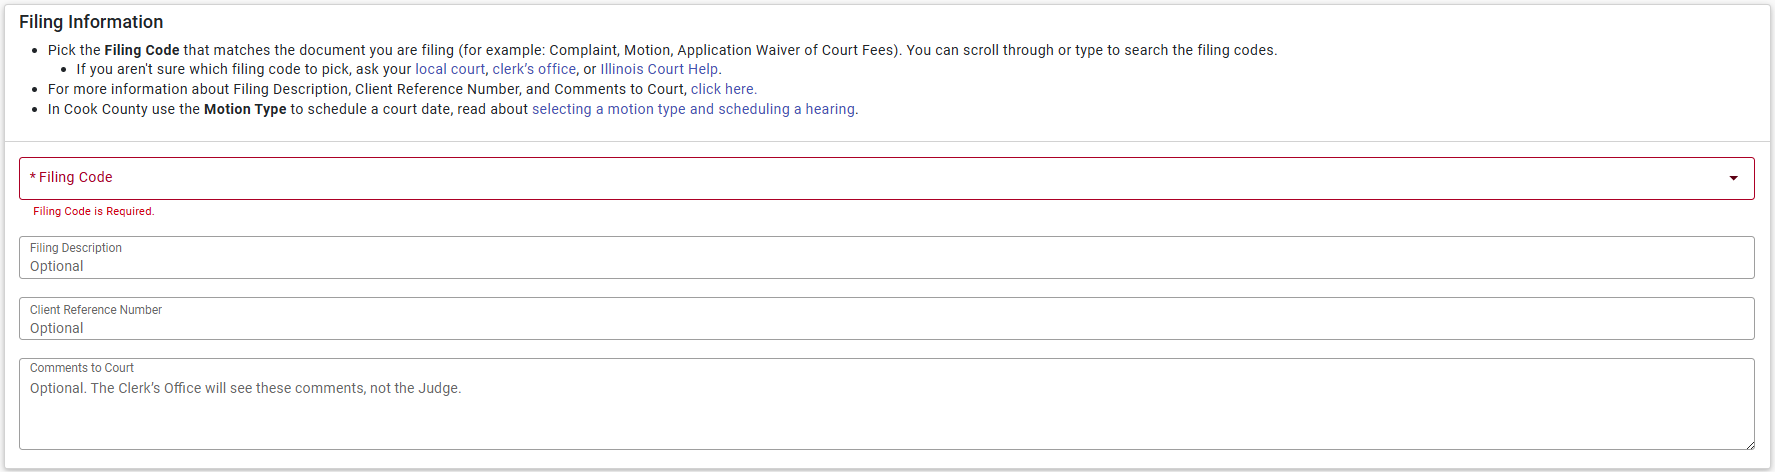
Under the “Filing Code” tab, you are going to select the type of document that you are filing into the case. There are a variety of options, so scroll down until you find the options that best matches the title of the legal document you are filing. If you have a question about which option to select, contact us using the “Contact” tab above.
If you are filing a Motion or Petition, after you make your selection, a new box will appear titled “Motion Type”. It’s very important that you select an option under this tab, as this will allow you to schedule a court date to present your Motion or Petition later on in the filing process. Typically, you will select “Motion Hearing - Type Not Listed”. However, for family law cases, if you are attempting to schedule the final “prove up” date in your case, select the if there’s already been a final judgment entered in your case, select the “Domestic Relations Division DR - Prove Up Hearing” option. If there’s already been a final judgment entered in your case, and you are asking to modify that judgment, select the “Domestic Relations Division - Post Decree Motion” option.
Under the “Lead Document” section, you can drag and drop the legal document you are seeking to file. Made sure the document is in a .pdf format, otherwise it will not be accepted. If it is a large document, you may need to use a file compressor to reduce the size before uploading. SmallPdf.com is a good, affordable option for file compression and other PDF modifications. Once you’ve uploaded the document, unless there’s been a sealing/protective order entered in your case, in the “Security” tab, you are going to select “Non-Confidential”. However, it’s very important that you make sure you do not include protected information in your filing (i.e., bank account numbers, social security numbers, etc.).
Once you’ve uploaded all of your filings, select the “Service” option in the bottom right corner of the “Filings” page. Under the “Service Contacts” page, add the names and email addresses for all the parties in your case. If you do this, Odyssey will automatically email the document to other party once it’s accepted by the court, and Odyssey has a read receipt feature that will show you whether the email was received and opened. This can be crucial in court if your judge is concerned about whether the opposing party received your filing.
Remember, all legal documents filed into an existing case will typically need to be accompanied by a Notice of Filing or a Notice of Motion. If you are filing a Certificate, Answer, or other type of document that doesn’t require you to schedule a court date, you will need to prepare a Notice of Filing and upload it into the “Filings” section with your main document. If you are filing a Motion, and need to schedule a date to present the Motion, you will use a Notice of Motion. All the parties in the case will need to be listed in your Notice, along with how you provided them with Notice (i.e., email, mailing, or both).
You’re almost done. Select the “Fees” option at the bottom of the “Service Contacts” page.
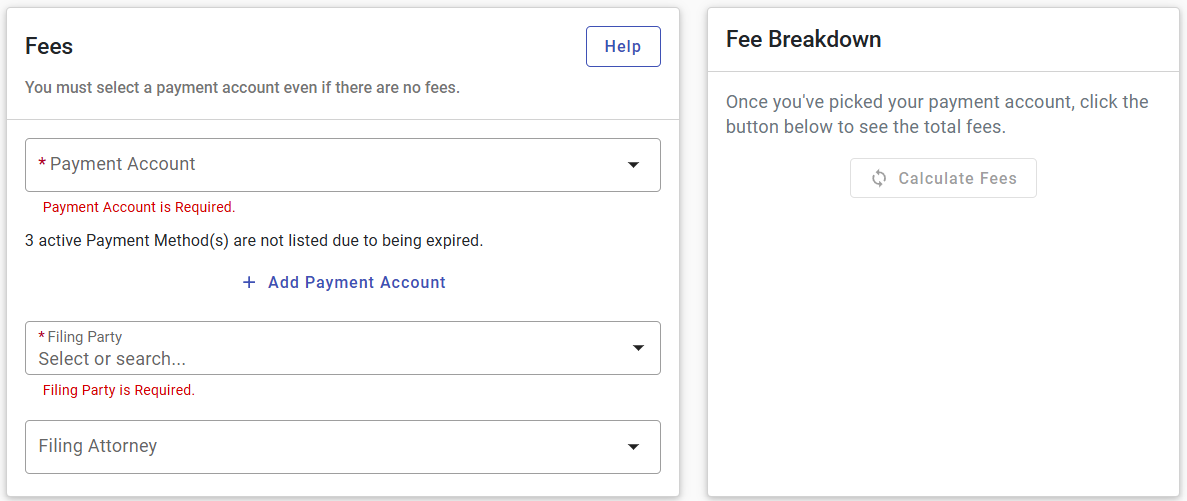
Most documents filed into an existing case will not have a filing fee. However, if this is your first filing, and you are filing your Appearance, there will be a fee. There will also be a fee if you are filing to modify an existing judgment. If you are attempting to file one of these documents, you should click the “Calculate Fees” tab to verify your fee before continuing. If the are no fees calculated, you will need to return to the “Filings” section to make sure you selected the right option. The clerk will reject your filing if there is an accompanying fee and you did not pay it with your filing.
If you haven’t added a payment account, select the “Add Payment Account” option and input your card information before continuing. Then select your “Payment Account”, the “Filing Party” and click the “Review and Submit” option in the bottom right corner.
You’ve made it to the final page. Here, you’ll need to review and select the boxes the boxes in the “Agreements” section at the top. This confirms that you haven’t included an Personal Identifying Information in your filings. Next, carefully review all the information in your filing. It’s strongly recommended that you download your uploaded “Filings” here to confirm that the correct documents were uploaded. It’s also a good idea to do a final read through of your “Filings” to make sure there aren’t any mistakes. Check to make sure you’ve included all the appropriate “Service Contacts”.
Once you’ve confirmed everything is correct, select “Submit.” If you filed a Motion that allows you to select a court date to present you Motion, you will then be brought to a scheduling page that allows you to select your court date.